Three years ago, I bought a Skywatcher 200p telescope. A hugely popular choice for amateur astronomers due to its low-cost and large aperture design. This is a fairly forgiving setup for newbies and allows you to capture a ton of light from night sky objects.
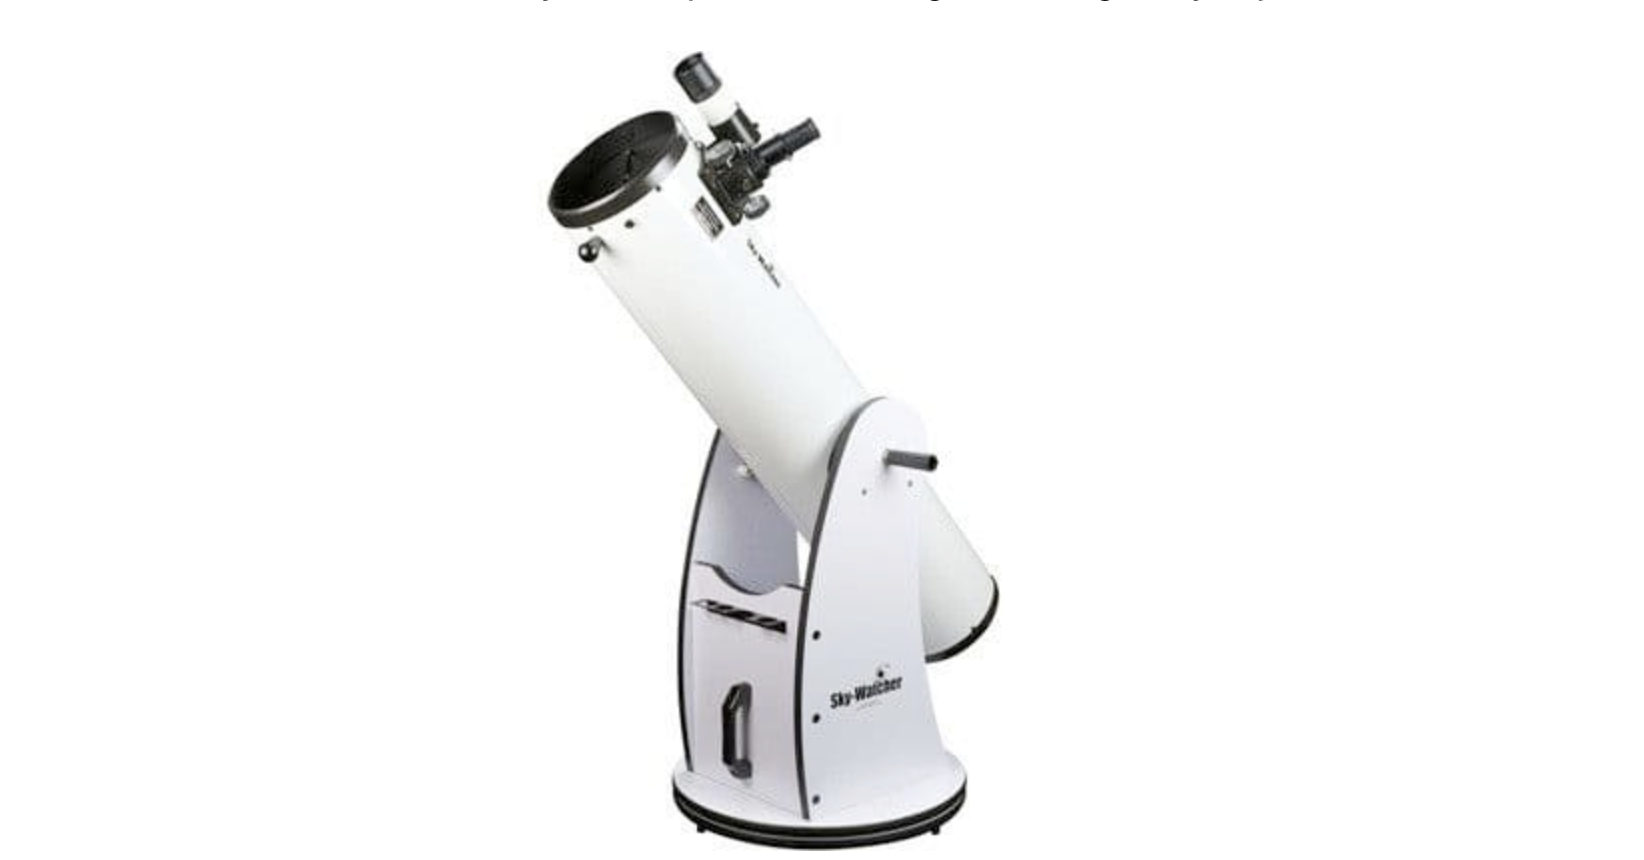 Skywatcher 200p Telescope.
This trusty scope was fantastic at teaching the fundamentals of astronomy, from understanding how different eyepieces affect the magnification of the thing you’re looking at, to understanding the positioning of the stars and navigating the sky.
I was able to get some great views of the moon, the solar system, and even the moons orbiting those planets. I couldn’t believe how clearly the rings of Saturn came into view, from a seemingly dark sky, it really is breathtaking.
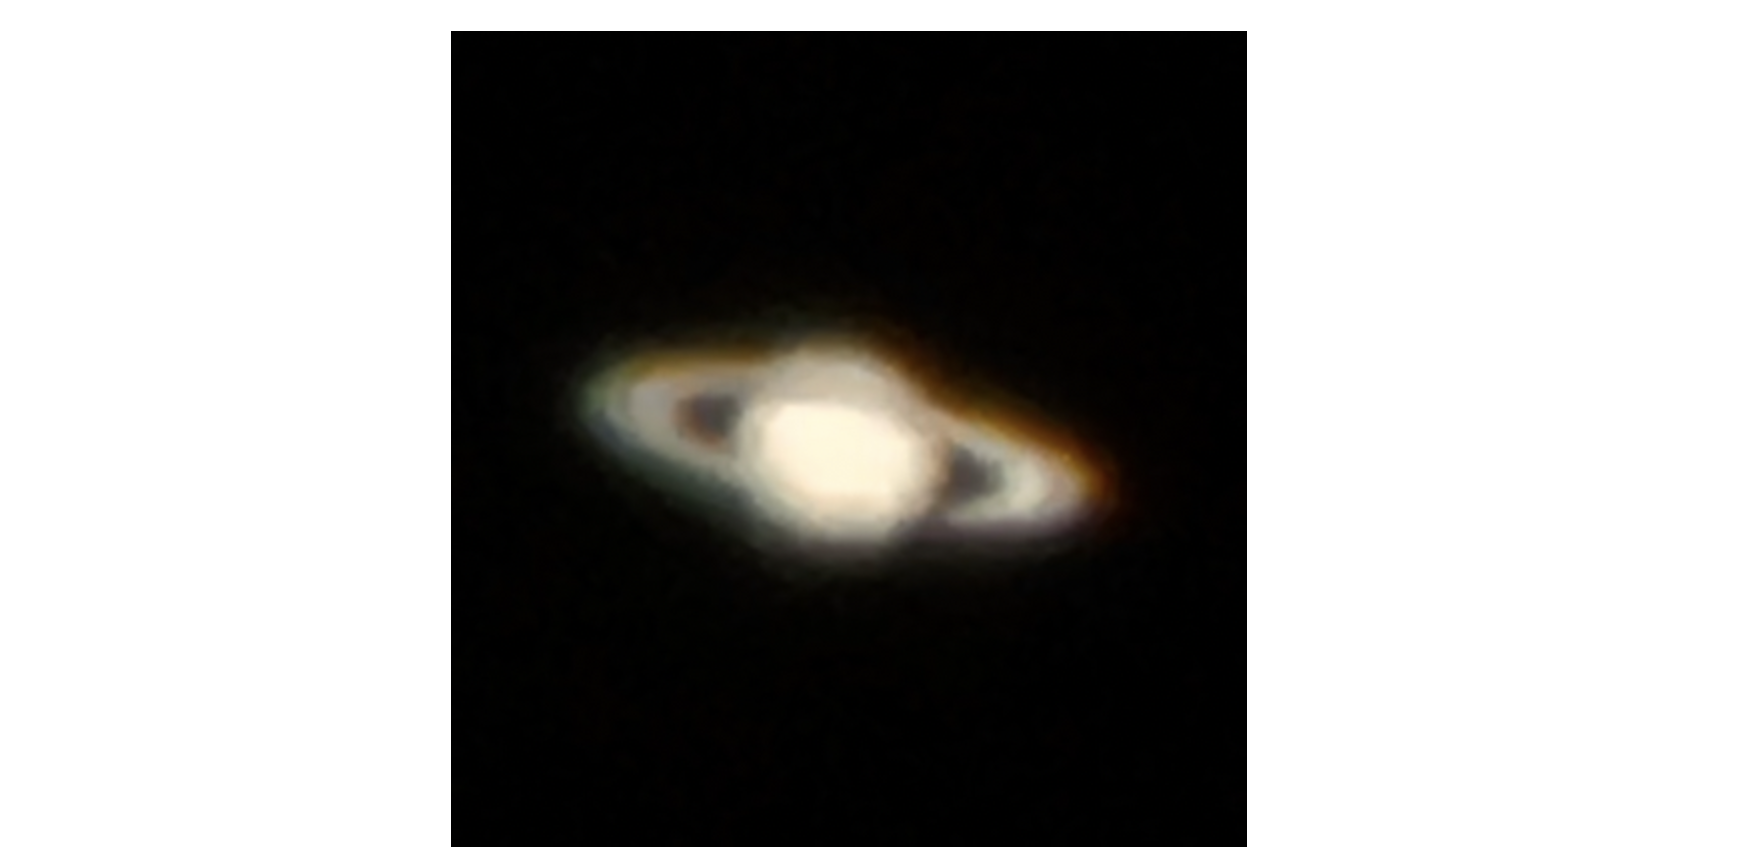 Saturn through my 200p and iPhone.
This of course only stoked my curiosity further, I wanted to get images and share them with my ever enduring friends and family. I bought an adapter to attach my phone to the telescope, I awkwardly managed some blurry, not completely awful, photos of the planets and the moon, but certainly not anywhere near as sharp or colourful as you see online or in the media.
I began researching in forums, watched YouTube videos, and read articles from folk who have been through the same quest to produce sharper and more spectacular images. Perhaps unsurprisingly, I found that there is a long and difficult learning curve to Astrophotography.
It became clear that the 200p telescope is great for visual astronomy, but not recommended for astrophotography.
For one, the 200p doesn’t have any automatic tracking, that is to say you need to physically move the telescope yourself to keep the object in view, due to the constant rotation of the earth against the backdrop of space. Not much of a problem to get a glimpse of a planet, or even some basic quick photos, but awful if you want to capture galaxies and nebula. These deep space objects are faint and require long exposure photography to gather more light and therefore a more brilliant image than the eye could ever have a chance of producing.
Long exposure photography requires keeping the object in the same spot in your telescope view for extended periods of time. To do this, you need a mount and setup that is able to track objects and move your telescope respectively across the night sky.
 The night sky appears to move over time.
If this wasn’t enough of a reason to cement the 200p’s status as a visual only telescope, there is another issue with this style of telescope’s field of view, i.e. the max amount of sky you can see through the telescope. The 200p gives a relatively small field of view due to its higher focal ratio, if you were to look at the Andromeda Galaxy you would only see a small portion of it.
Due to this relationship between telescope focal ratio and field of view, different telescopes are suitable for different things. You will see some telescopes are superbly designed for taking photos of deep space objects like galaxies, whilst other telescopes are better suited for planetary imaging.
My goal, for now, is to take incredible images of Galaxies. This is what I bought to achieve that.
The following image is a great example of what can be achieved with a ‘modest’ setup.
Andromeda (M31), taken by Lynx1971 and shared on stargazerslounge.com - a popular Astronomy forum.
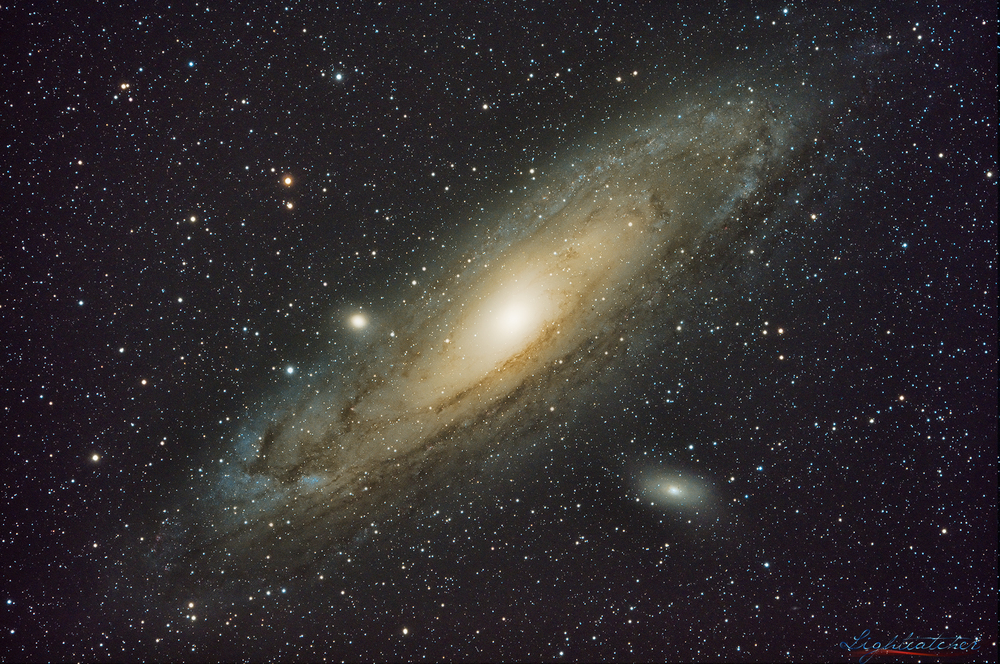 Taken on a Skywatcher EVOSTAR 80ED DS-Pro and HEQ5Pro mount, by Lynx1971.
We’re going to need new kit
Let’s start with the mount
I cannot understate how important the mount is in your Astrophotography rig. It will act as the foundation of all the photos you take and if chosen wisely will outlast any other bit of equipment you buy. For that reason, it is often recommended to get a mount that is rated beyond your current needs.
A computerised ‘GOTO’ mount will track the night sky and constantly adjusts so that your whole setup follows a specific point in the sky, to an extremely high degree of accuracy. This ability is absolutely crucial to take sharp long exposure photos and to compensate for the rotation of the Earth.
For the purpose of Astrophotography, an equatorial mount is required. These mounts can be polar aligned (a learning curve in itself), essentially meaning they can be aligned parallel with the Earth’s axis of rotation and track objects as they appear to move across the sky.
I was happy with a commonly recommended mount, the Skywatcher HEQ5 Pro. A tried and tested model that is rated to carry more than enough weight for most setups, with exception to the more advanced and heavier telescopes. If you can afford it, you may want to consider the ‘next one up’ NEQ6 Pro, which will leave more doors open in future without needing to upgrade your mount.
When using a mount for Astrophotography, a good rule of thumb is that it needs to be rated to carry at least double the weight of the equipment you want it to support, so do check this first.
💡 The cost of mounts, telescopes, and other equipment soon adds up quick! Check out Astrobuysell UK , a community of passionate people selling their unwanted gear. I saved £100s this way and received a lot of advice along the way.
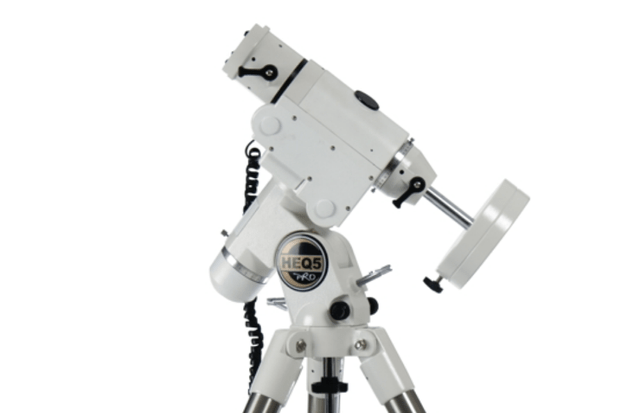 Skywatcher HEQ5 Pro
Next up, the telescope
Destined to sit on top of your mount and coming in all shapes and sizes, the telescope you choose will dictate what kind of objects you’ll be best placed to image.
If, like me, you’re keen on capturing large galaxies like Andromeda, then the Skywatcher Evostar 80ED DS-PRO is again highly recommended. A doublet refractor telescope, which when purchased as a full kit comes with everything you need to attach it to your mount and get started.
The 80ED has a large field of view, perfect for medium to large sized deep space objects. The quality of its optics and price point come at a sweet spot compared to other telescopes.
Perfect for the type of imaging I wanted, I tracked down an ED80 online and added it to my collection.
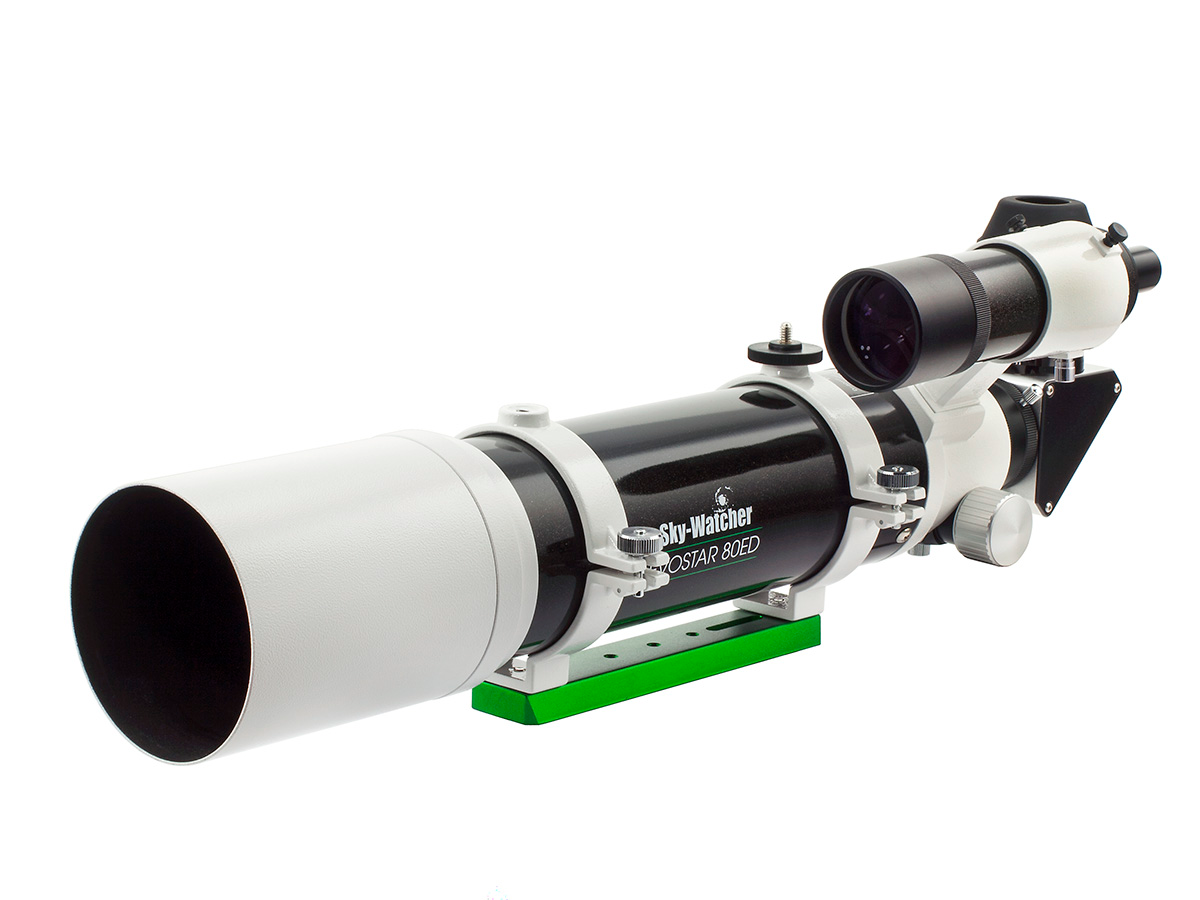 SkyWatcher Evostar 80ED DS-PRO
Due to its focal ratio and large field of view the 80ED is not the best for planetary imaging, such an object would look tiny in the telescope’s view and would show little resolution or detail.
All the accessories
Just like the vastness of the space, the sheer number of add-ons you can buy to enhance your imaging sessions is mind-boggling. Some are more crucial than others, as a beginner I came to the conclusion that the most useful at this stage included the following.
Guidescopes or finderscopes are essentially miniature telescopes that sit on top of your telescope. They typically offer a larger view of the sky than your main telescope, allowing you to find and move to a specific area of the sky with the finderscope, then fine-tune to the exact position by looking through the main telescope. An essential accessory that is often included alongside the purchase of a telescope, as shown in the ED80 image above I pulled from a retailer’s website. Luckily for me, my 200p came with a finderscope, so I didn’t need to acquire a new one.
Guidecams are miniature cameras that fit inside a guidescope or adapted to fit in finderscope. Their job is to image the night sky at a high frame rate and detect when the scope moves out of alignment with what it’s been programmed to look at. Software takes this information and tells the mount to move appropriately. Guidecams enable the mount to track objects in the night sky more precisely than mounts that rely on their initial calibration alone. The ZWO ASI 120 mm camera acts as an excellent guide camera that can handle most setups. I was happy with this choice and with the help of an adapter I attached it easily to the finderscope that I moved from my 200p to the new ED80 telescope.
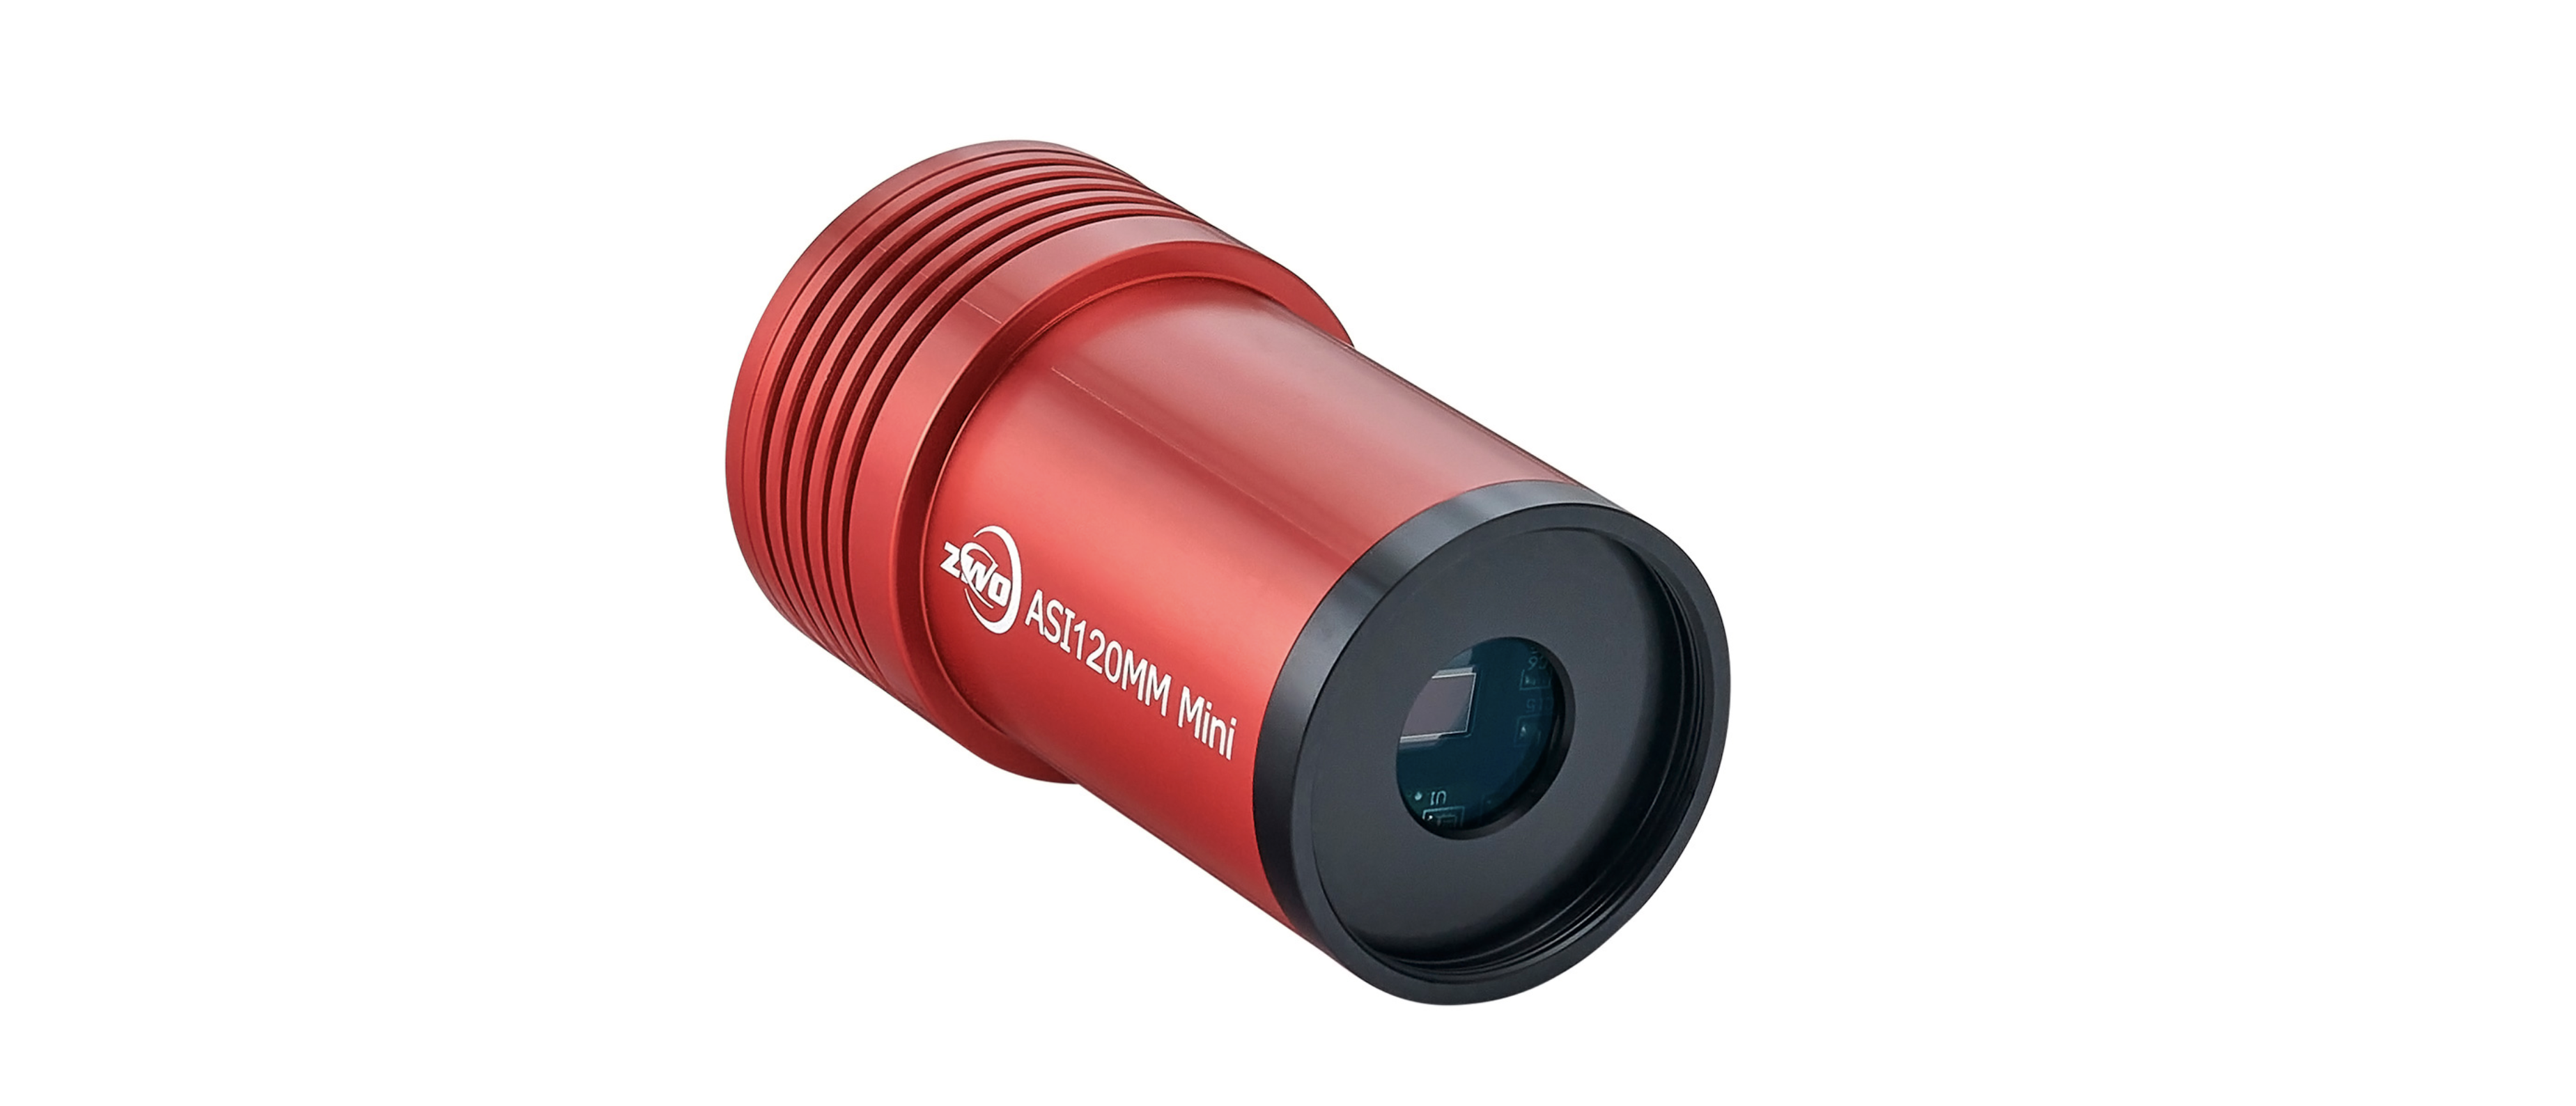 ZWO ASI Mini 120mm
Reducer / Flatteners are often paired with telescopes in that they come designed and built for a specific telescope model. For example, Sky-Watcher produce a .85x Reducer/Flattener optimised for the ED80 telescope. The purpose of a flattener is to improve the imaging around the edge of the view (or field), which would be slightly blurred or distorted otherwise. A reducer lowers the focal length of the telescope giving a smaller field of view, in the case of the mentioned .85x reducer/flattener the reduction is by 15%. Both these effects come in one accessory and typically screw on to the part of the telescope before the eyepiece or imaging camera. I was very lucky that the optimised reducer / flattener was included with the purchase of my second hand ED80.
Imaging Cameras take the images seen through the telescope, ultimately giving you the frames needed to process into a final, beautiful photograph. Which imaging camera is best for you is a whole topic in itself, but an old second hand DSLR camera is one of the more simple (and cheapest) forms. Cameras such as the Canon 600d can be found online for around £200 or less, can be modified in a way that allow improved imaging of deep sky objects, and can be attached to the end of your telescope with the help of a simple adapter. There are plenty of DSLRs that have already been ‘astromodified’ online, I was fortunate to find a 600d in great condition. The sky really is the limit when it comes to other options, and cooled dedicated astrophotography cameras are the expensive but preferred choice of the pros.

Sounds like a lot, right?! Definitely, and as I said it’s a big learning curve and way more complex than you may have thought, but hopefully it will all be worth it when you produce those stunning portraits of galaxies and nebula. For me, I’ve thoroughly enjoyed the deep-dive into Astrophotography so far and even if the clouds never clear, at least I’ve learnt a lot along the way.
The next part of the journey will no doubt be as difficult but exciting as it’s been so far. Navigating the sea of software you need to co-ordinate all the moving parts during the capture phase, and processing the huge amount of data into one mind-blowing image. Wish me luck.
A big shoutout to the folk I bought second hand equipment from who really helped me get off the ground with advice and insights, but not forgetting the ever-helpful forums and the huge collection of YouTube videos available on all things Astrophotography.
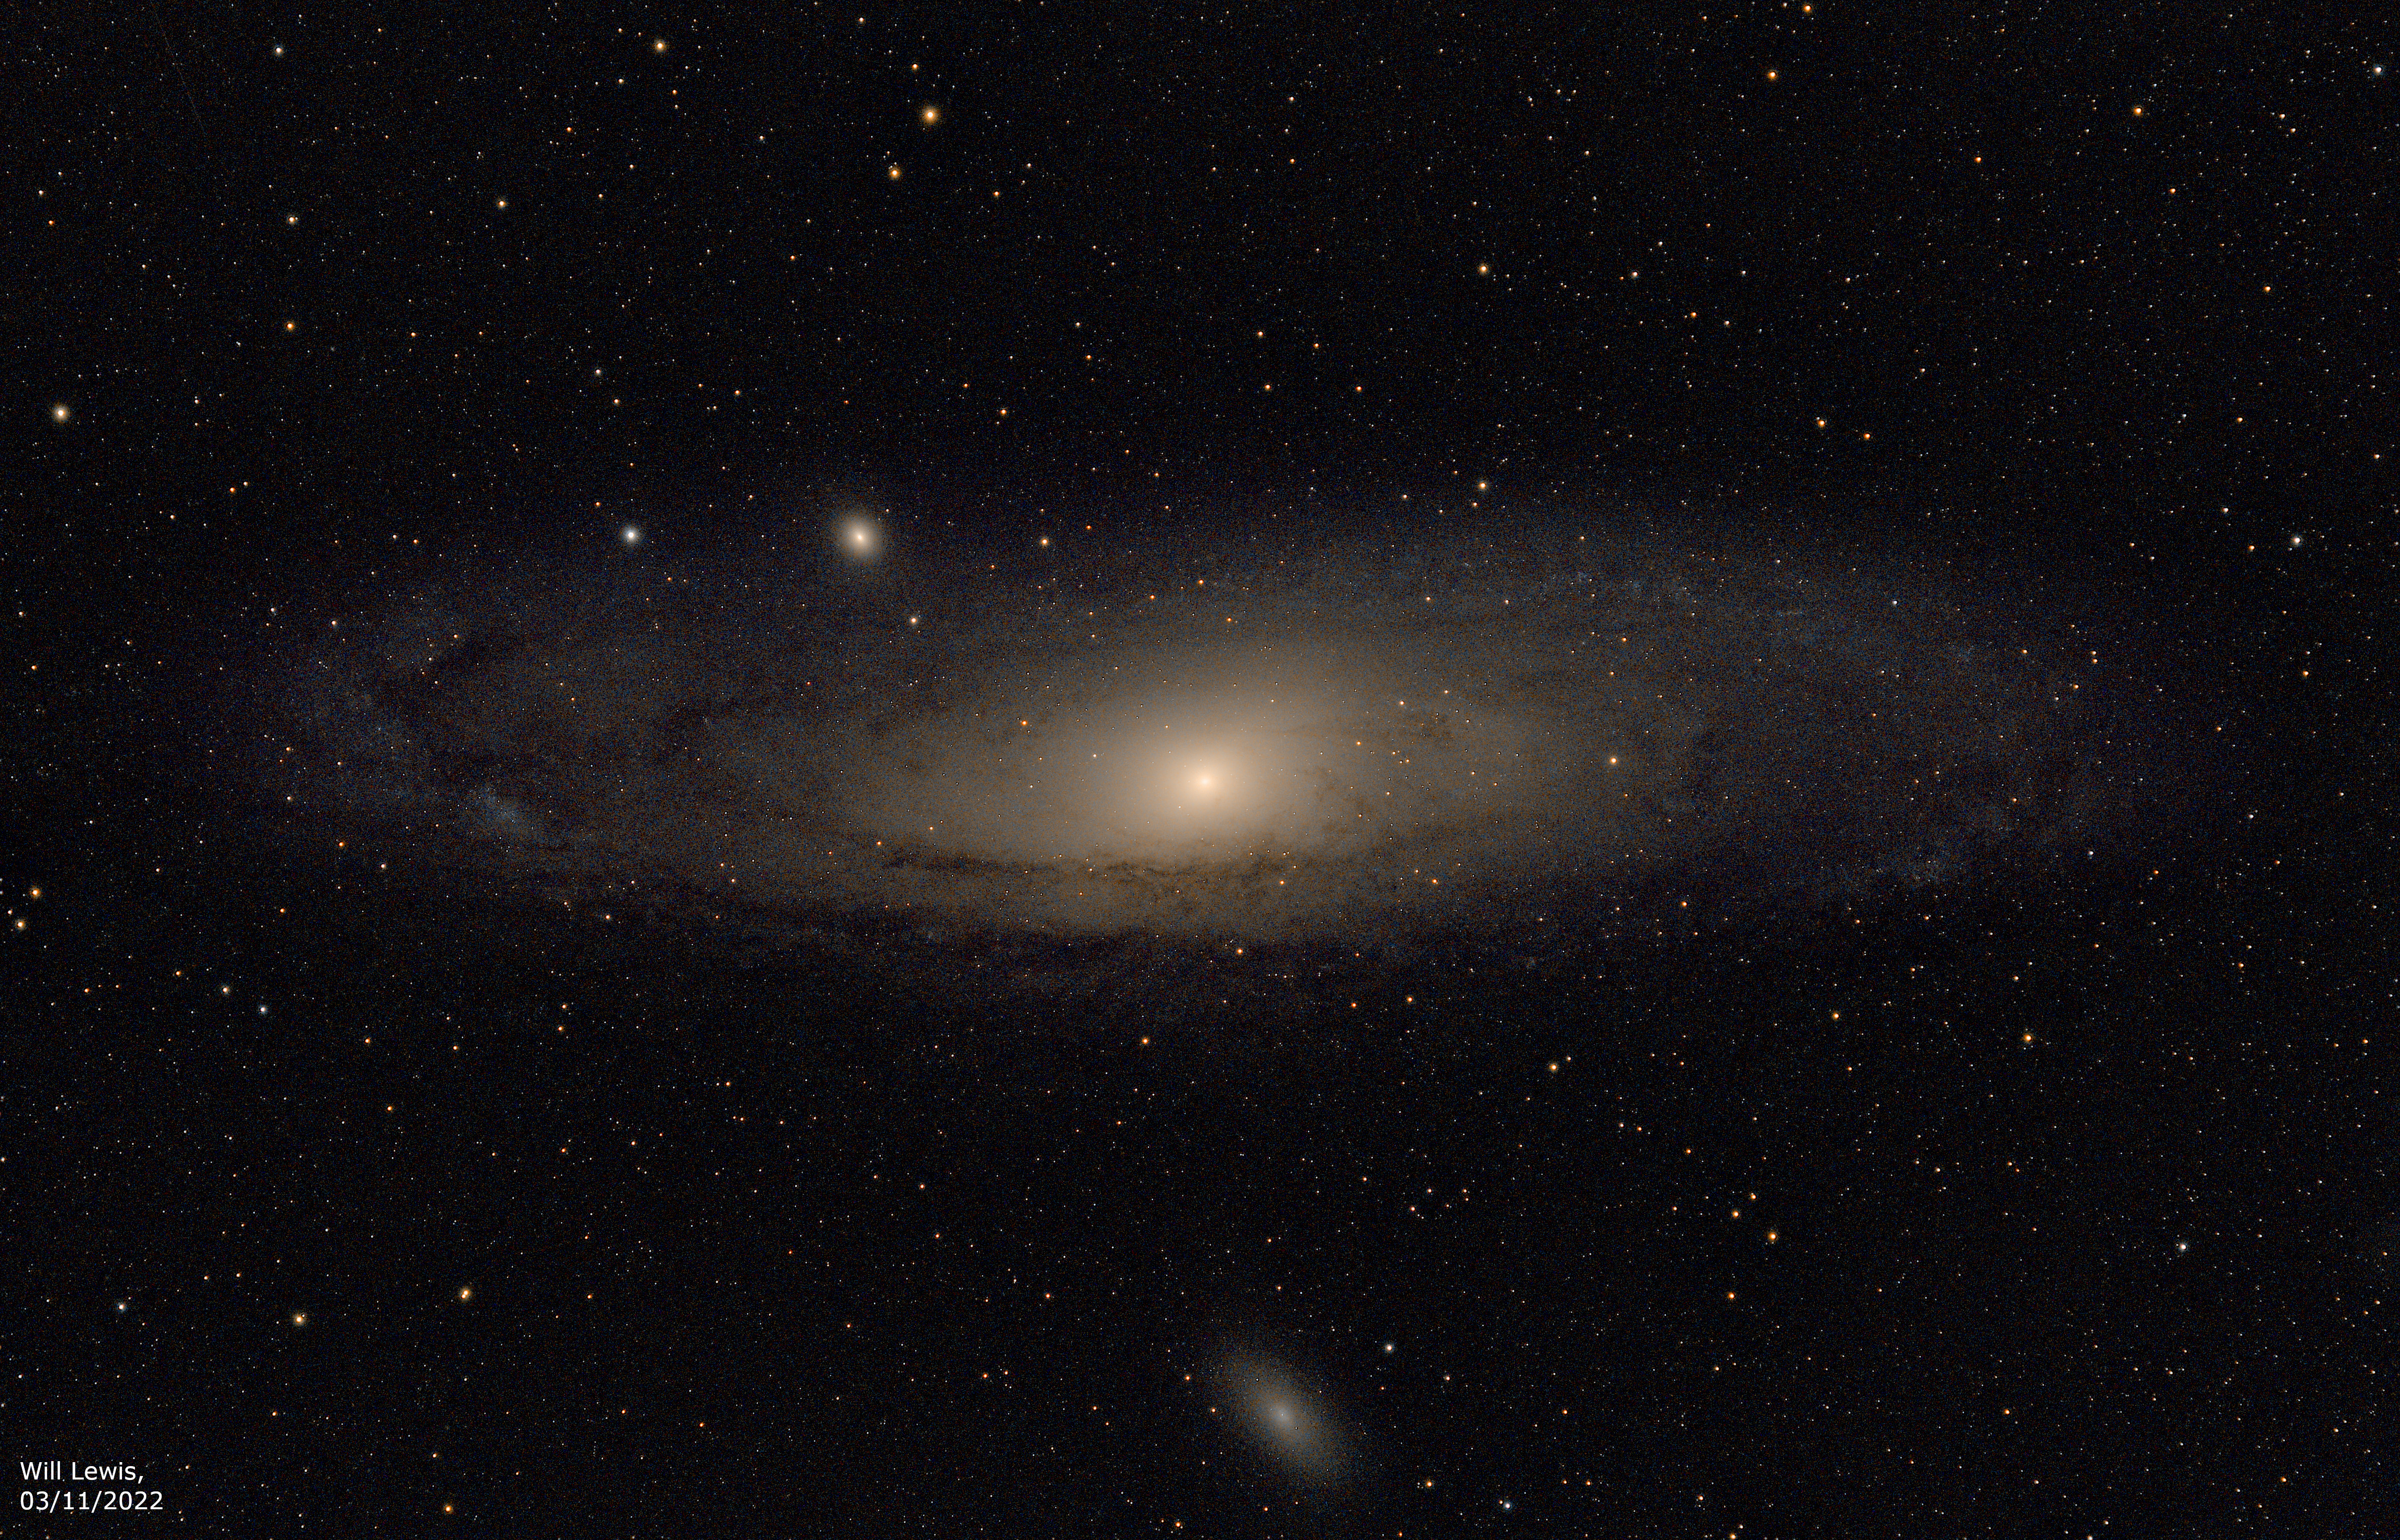
Update (10/11/2022): I have taken the time to learn some basic image processing which I’ll share in another article but until then let me share the first image I have produced, of Andromeda Galaxy (M31). This was taken with 5x 200s exposures on the 03/11/2022, the most I could manage before the clouds came back. A first attempt, but I really like it..