So, I finally got fed up with my SimpliSafe system constantly moaning that its entry sensors were ‘not responding’, i.e. that they’re out of range.
SimpliSafe’s official solution is unfortunately non-existent at the time of writing, with no indication of anything on the way. You may have seen SimpliSafe recommend a Wi-Fi extender but crucially these will only work with the cameras, which are connected via Wi-Fi and not the sensors which operate on a different radio protocol.
After some Googling and forum diving, I discovered I wasn’t alone in this struggle. Tons of people deal with range issues, especially folks with larger homes, weird layouts, or houses with lots of interference.
Inspired by an Instructable on a previous generation of the entry sensor where they soldered on a new antenna to its circuit board, I set out to see if I could do the same on the latest model.

The Fix
Here’s what I did, and honestly, it was easier than I expected. The job involves soldering a new antenna onto the entry sensor’s circuit board, which significantly improves the range.
What you need:
- A small flathead screwdriver (or something to pry open the case)
- Thin insulated wire (I used 22 AWG)
- A soldering iron and solder
- Gen 3 SimpliSafe entry sensor
The process:
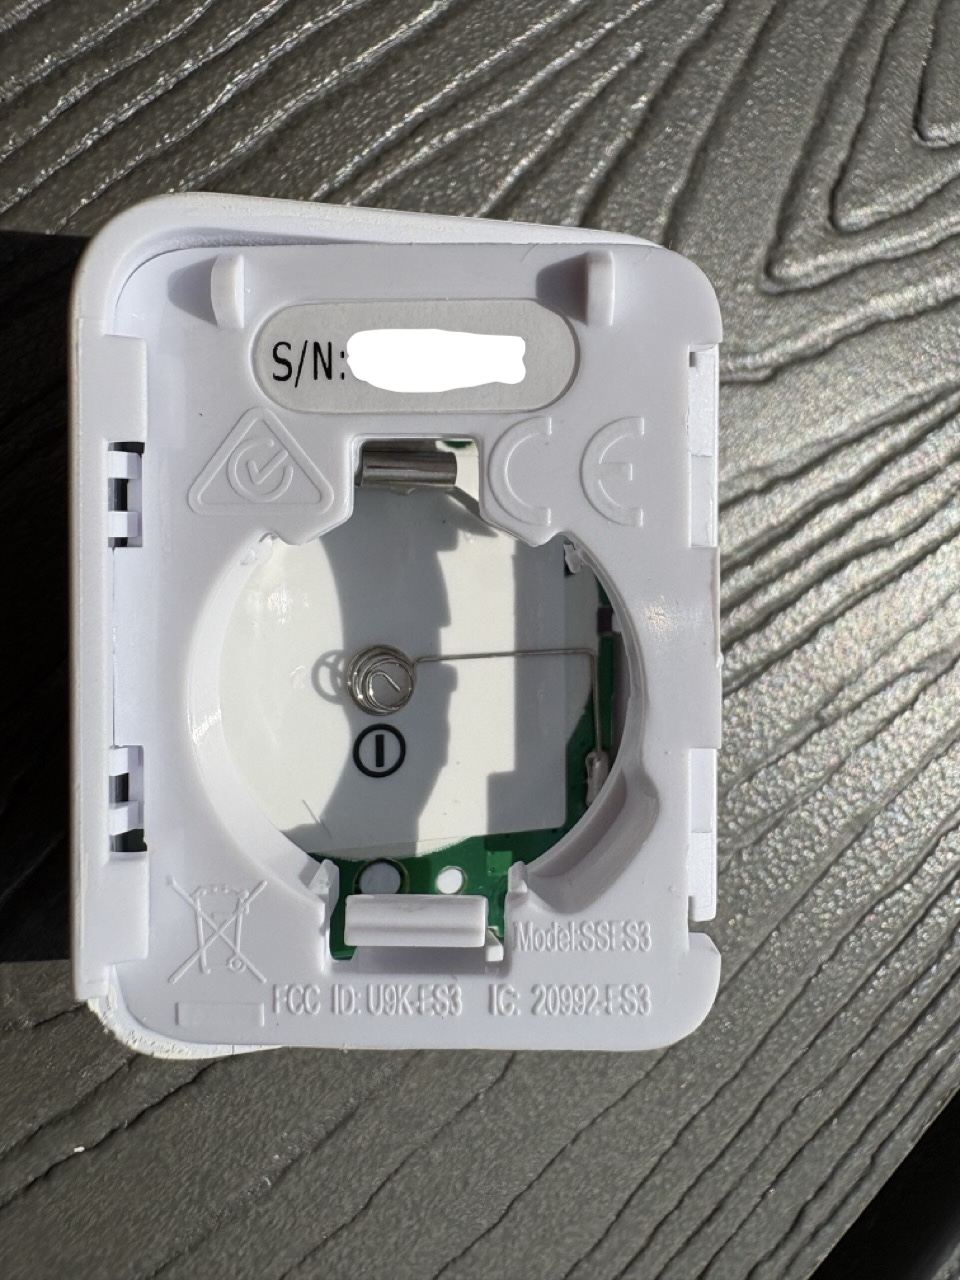
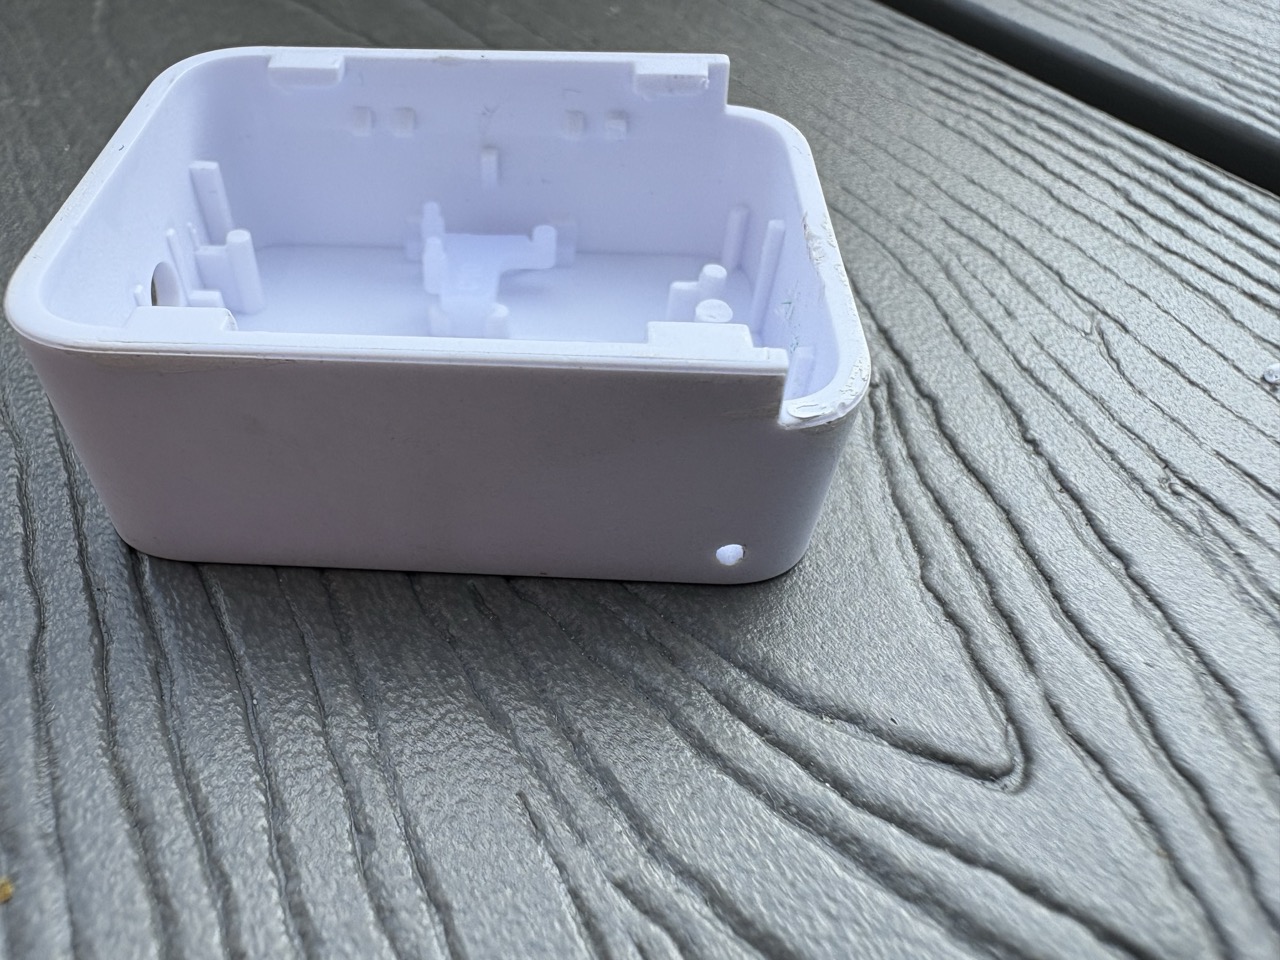
Slide open the entry sensor case to reveal the battery.
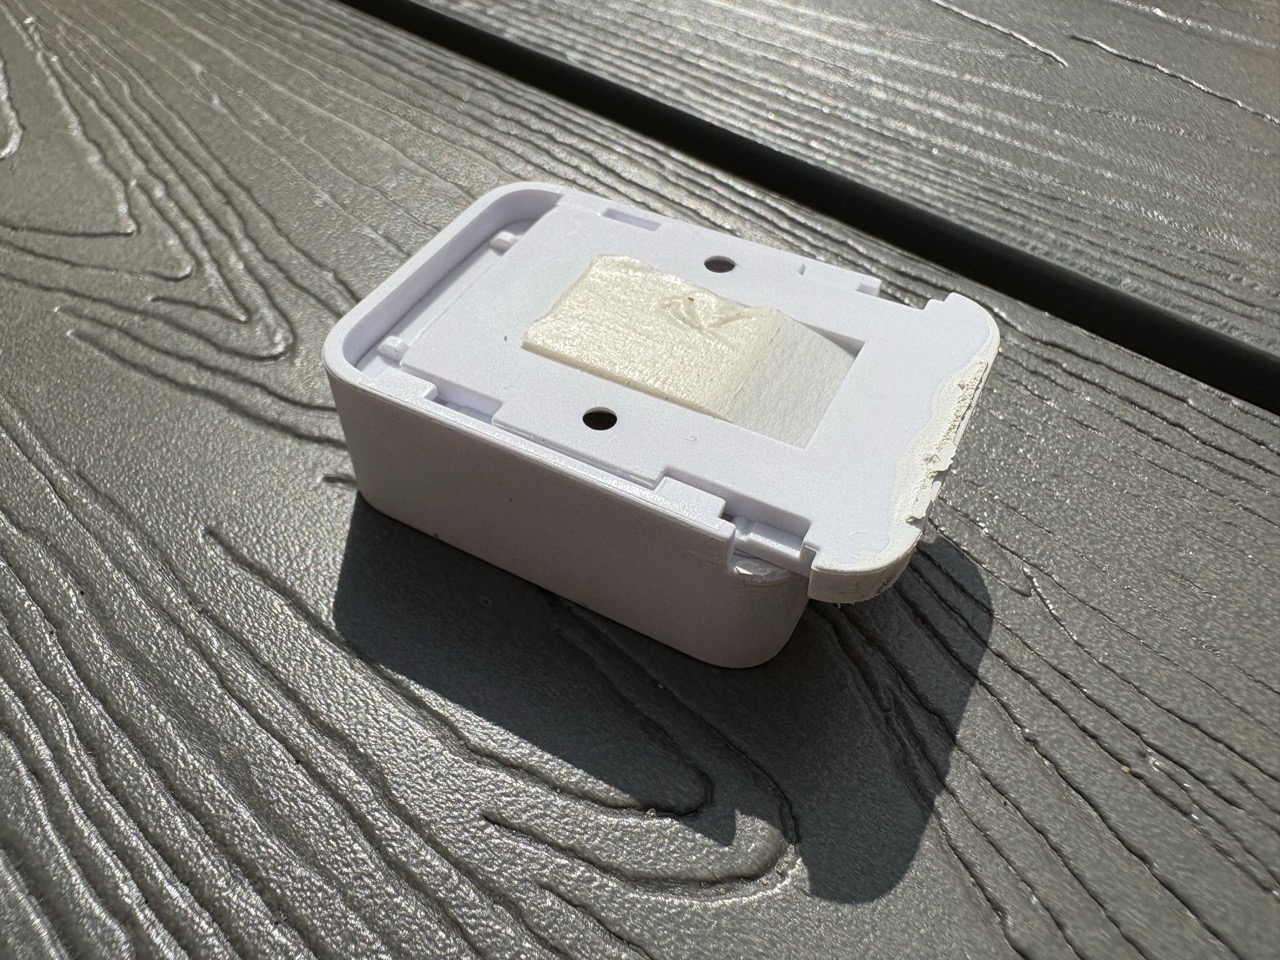
Use your flathead screwdriver or equivalent to pry open the next bit of plastic, which is being held in by four small clips, to expose the circuit board.
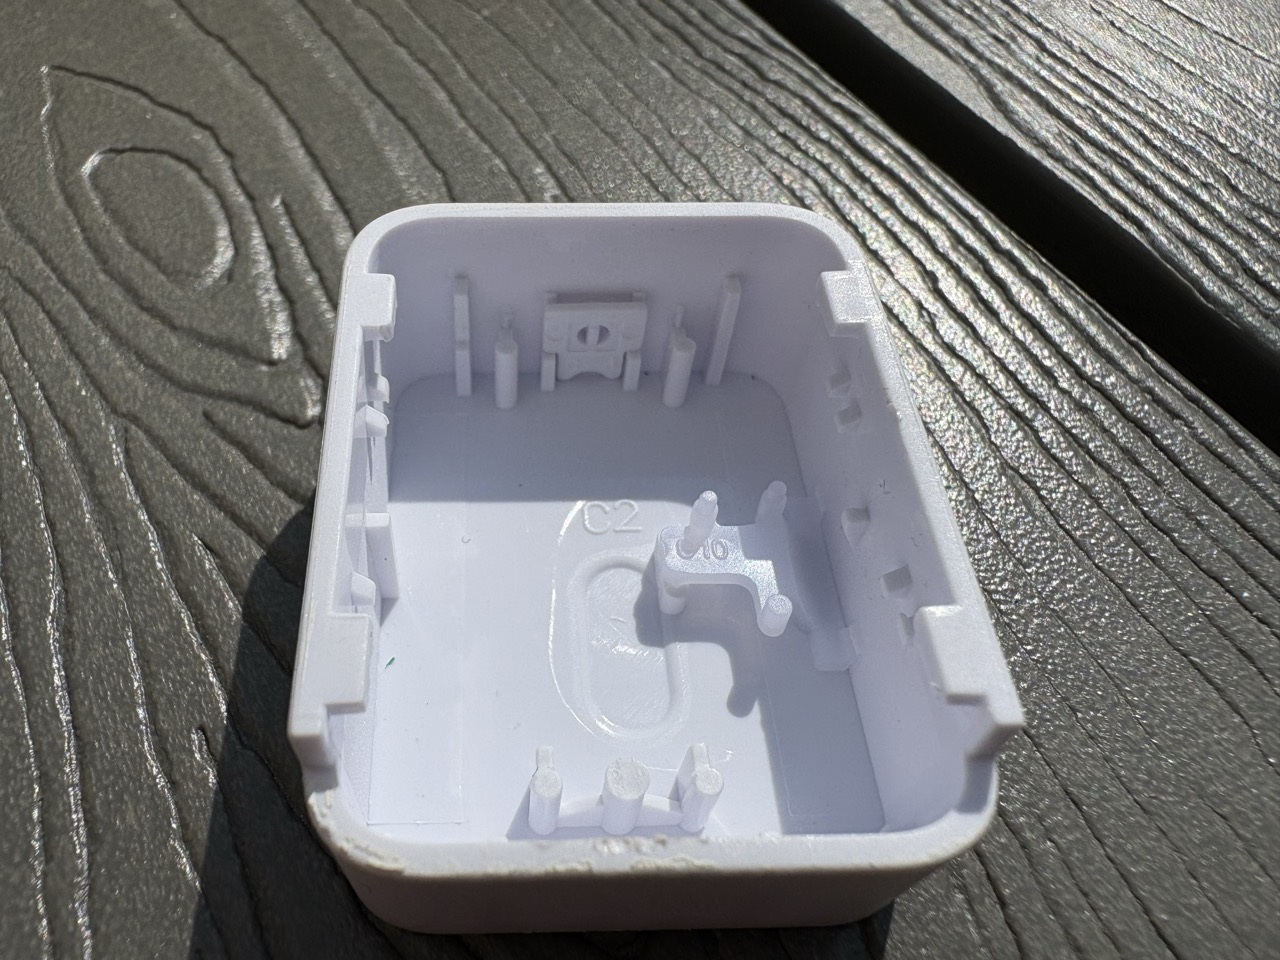
The circuit board can be a bit tricky to remove and again requires careful use of the screwdriver to lift it out of its plastic housing - there doesn’t seem to be anything holding it in.
Beware of the little plastic part that links the external button to the circuit board; this is a free-floating piece which will need to be put back in place when you put everything back together, you can see it in place in the following picture.
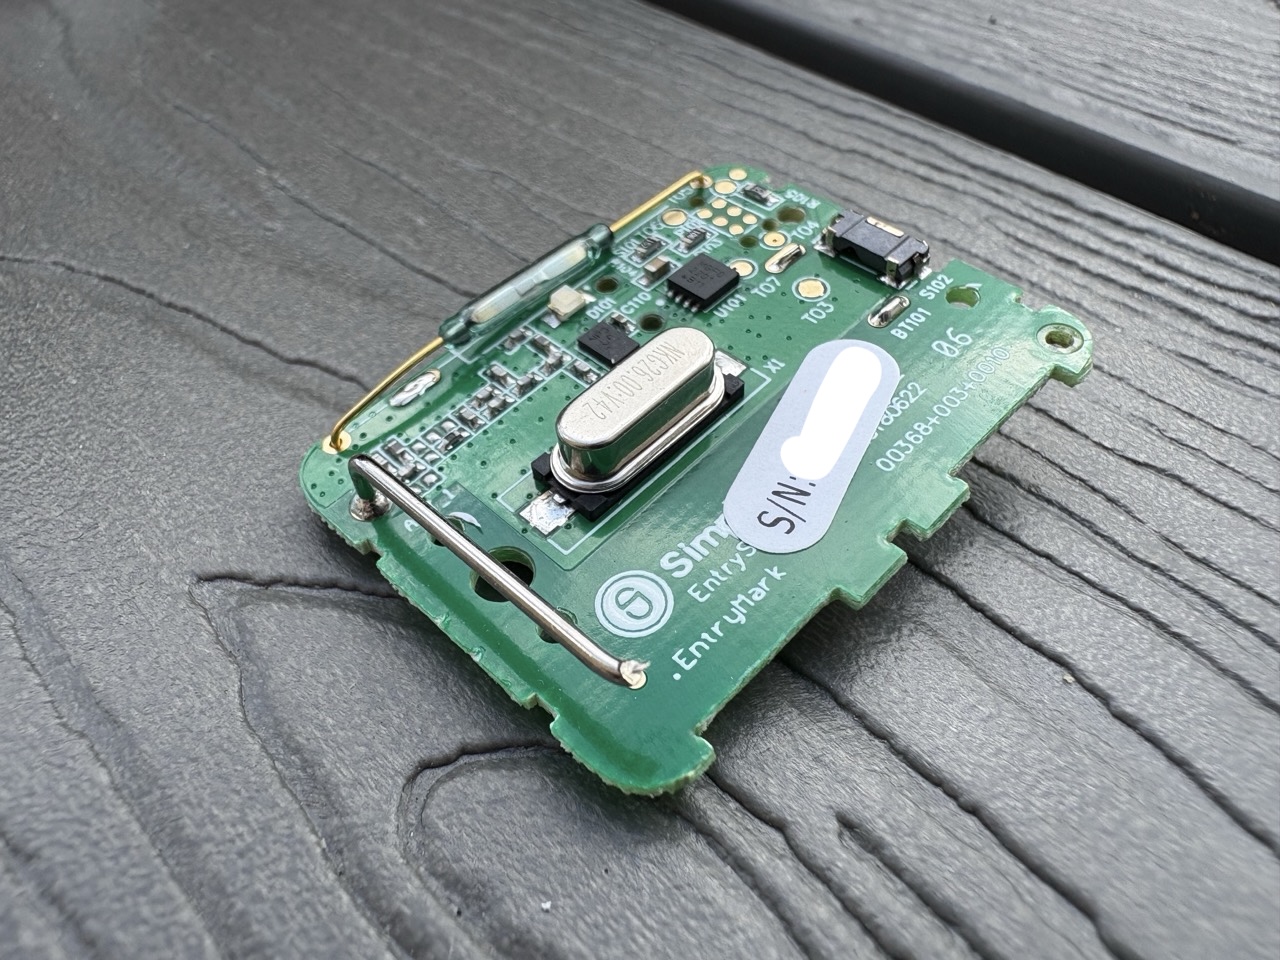
Flip the circuit board and you’ll notice the existing antenna, which follows two edges of the board. We’re going to replace this with a more capable one.
The antenna meets the board at two points - one of these is its connection to the circuit board (marked ANT_1) and the other is a mount point.
Use a soldering iron to heat up the antenna at its mount point and remove it so that the antenna will only be connected to the circuit board at the ANT_1 connection.
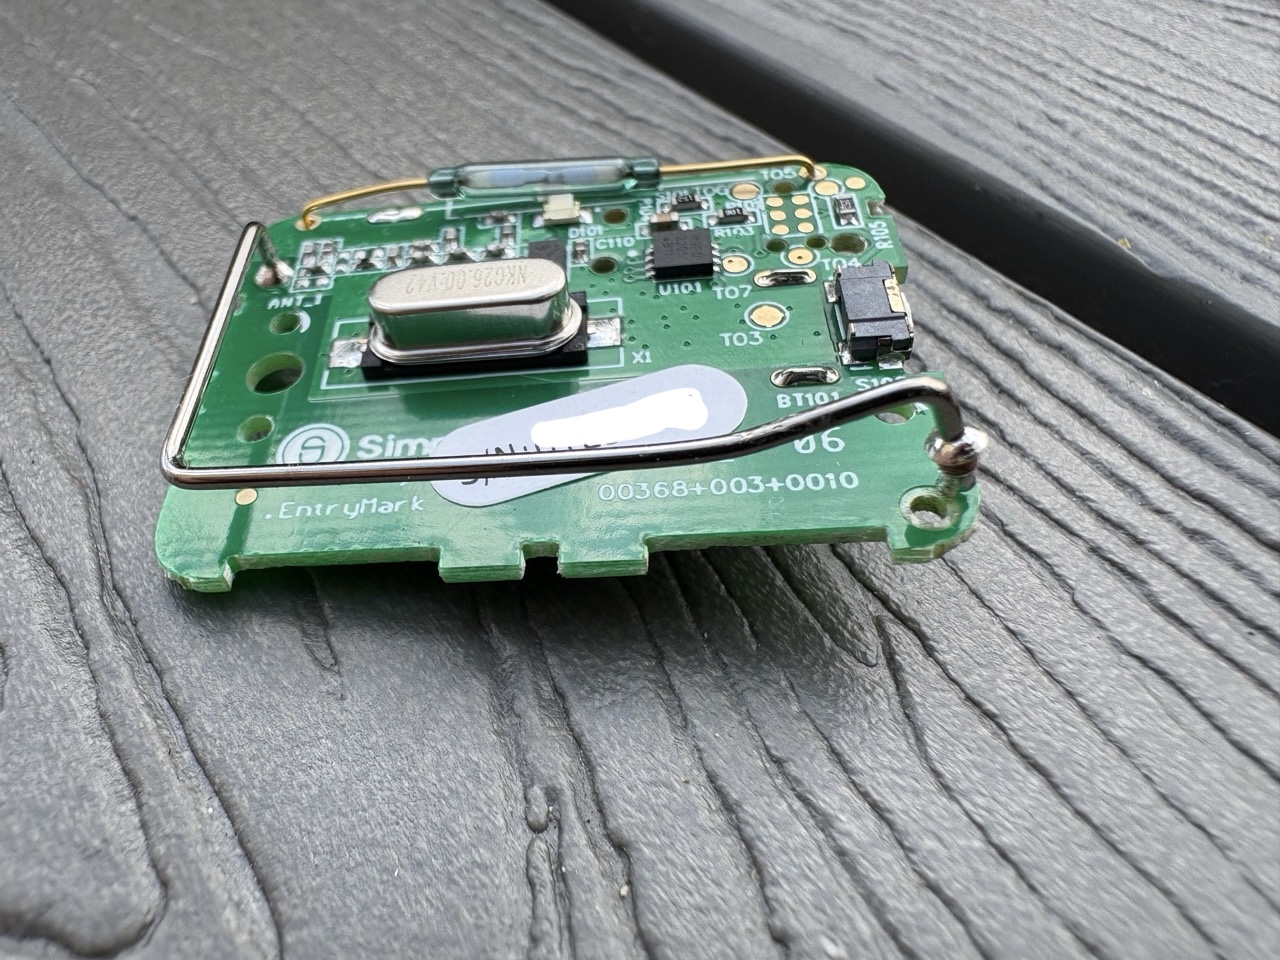
Cut the metal antenna where it bends so you’ll be left with one straight bit of metal, at the end of which we’re going to solder on the new antenna.
The entry sensor communicates at 433.83MHz and the ideal antenna length for this frequency is 32.88cm. Therefore cut your wire so that when you add the reminaing length of old antenna, it both totals 32.8cm. You don’t need to be millimetre accurate here so just get as close as you can.
Now solder the wire onto the old antenna, like so.
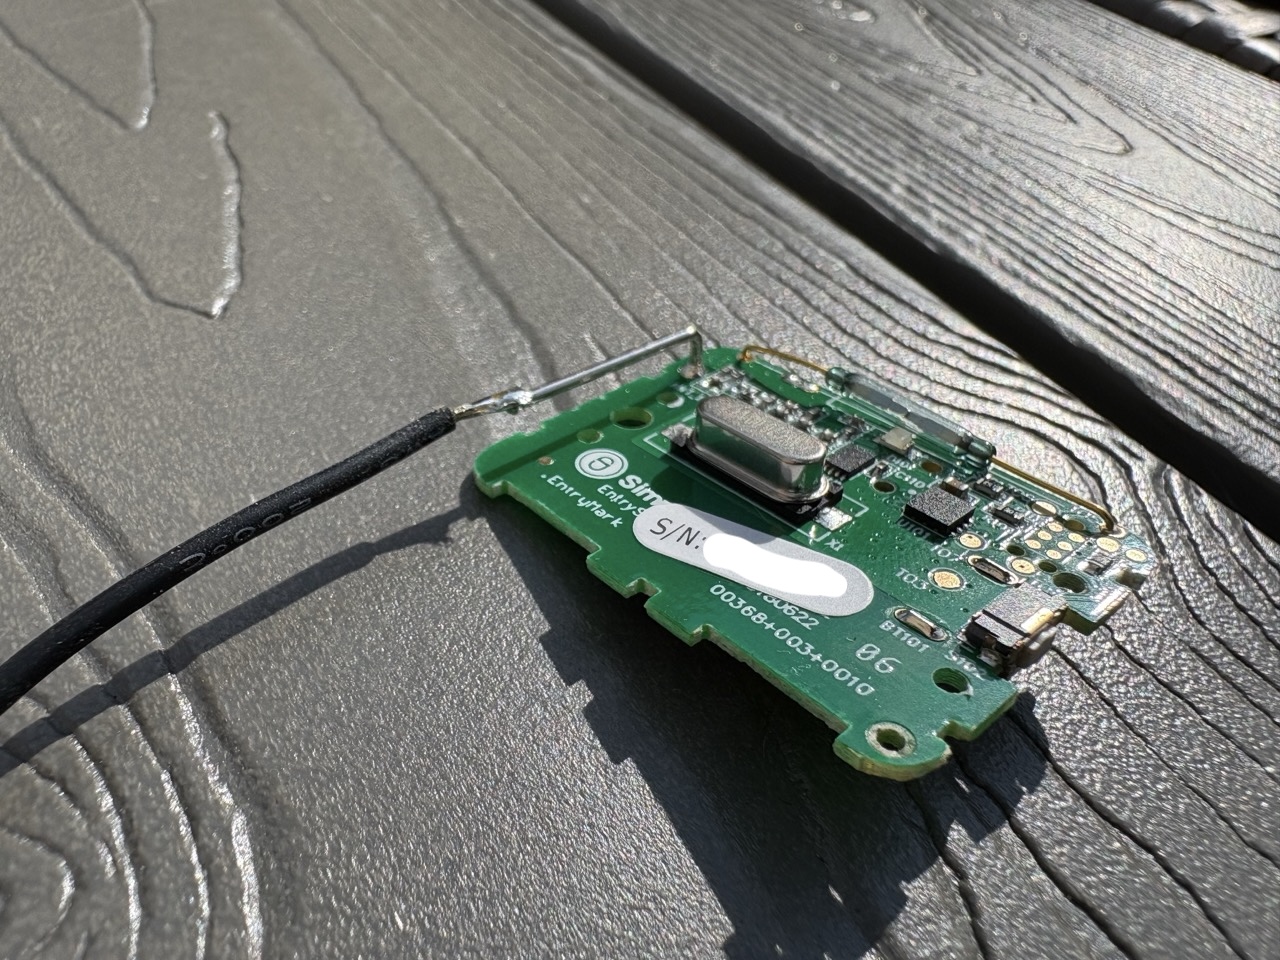
The wire needs a way to exit the case when everything is reassembled - drill a small hole in the side of the entry sensor that is just wide enough for the wire. Check below for the right placement of the hole, or draw a mark where the wire will need to exit by putting the circuit board back in place and lining up the hole with where the existing broken antenna points.
Now you can route the wire out the newly created hole and put the circuit board back in place.
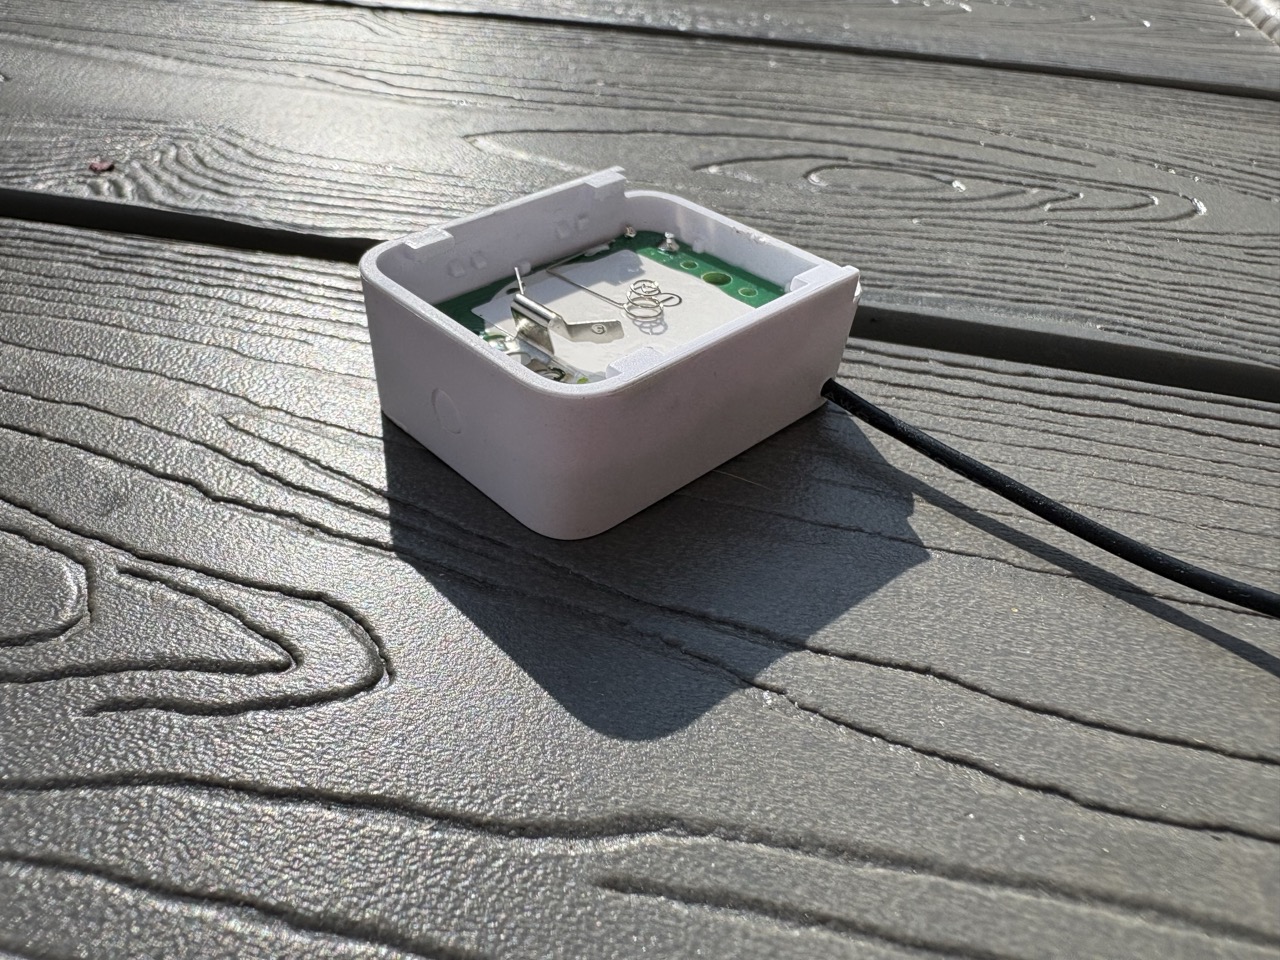
Put everything back together and hey presto, you’ve got yourself an entry sensor with way more range!
You can let the wire hang loose or tape it along the wall to make things neater. Personally, I would use a white-coloured wire next time for a better look!
Results
Holy crap, what a difference! My previously flaky sensors now have solid connections and have yet to drop out. The garage sensor that used to disconnect every other day? Not a single dropout in three weeks.
I’m no RF engineer, but basically you’re just giving the sensor a longer and more appropriately sized antenna to work with (ahem). It makes a big difference clearly, and of course the trade-off here is that you have the trailing wire outside of the entry sensor, which might not be aesthetically pleasing for everyone.
Fair Warning
Obviously, this voids your warranty and technically counts as modifying the device.
Anyone else tried this or similar range-extending tricks? Contact links below - always curious to hear what’s worked for other people!